
Have you ever wanted to print nice pictures but you don’t know which ones to choose? If for you just one picture isn’t enough, we invite you to use our FreeDesign tool to create wonderful collages of your favourite pictures.
So, here is a quick tutorial with the best tips to create a Photo collage in a few simple steps (remember that for some products, like this one, you need to download our FreeDesign tool software, available for every type of operating system):
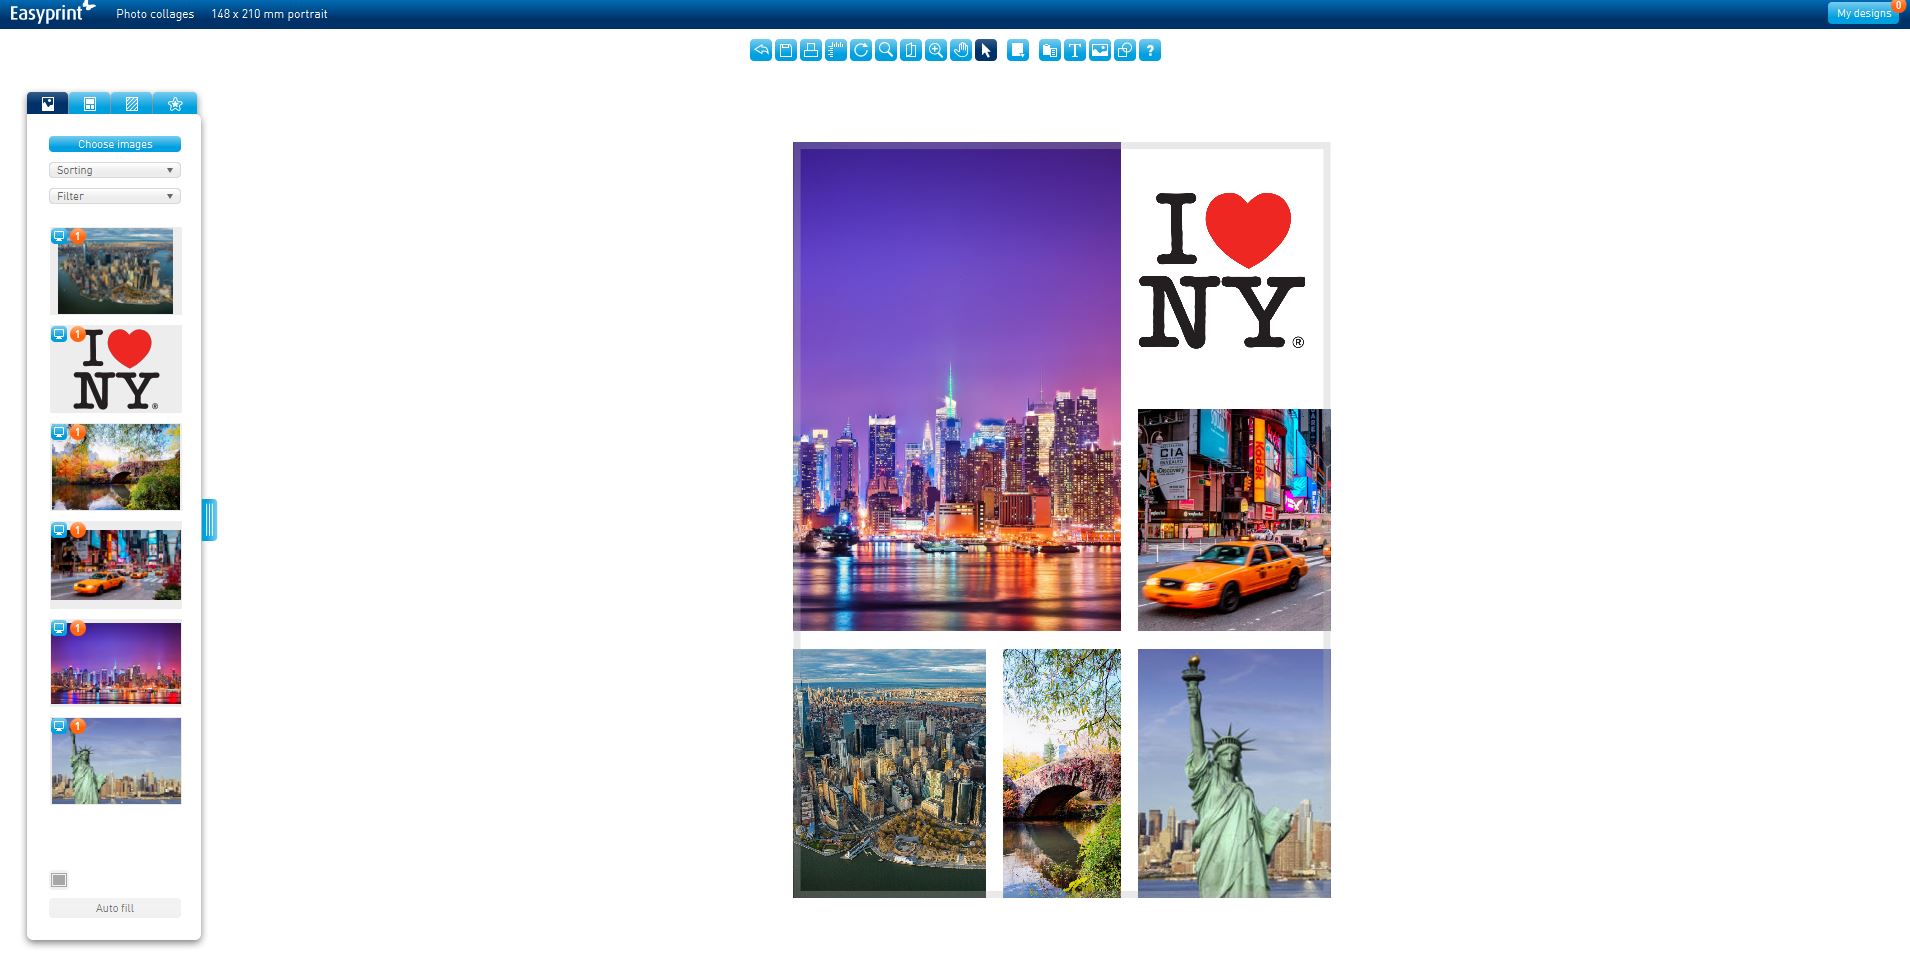
1. Choosing the format and type of paper
First of all, we suggest setting up the dimensions of the Photo collage (menu on the top left, close to the logo) and choosing the type of refining options you’d add to the print (menu, bottom left). You can choose to create a normal print or add varnish to it, to make your product glossier.
2. Choosing the layout to upload the pictures
Depending on the number of images you want to insert into your project, you can choose the type of layout which fit your needs from the Easyprint FreeDesign tool and by clicking on the top right button (the icon looks like a little collage, indeed).
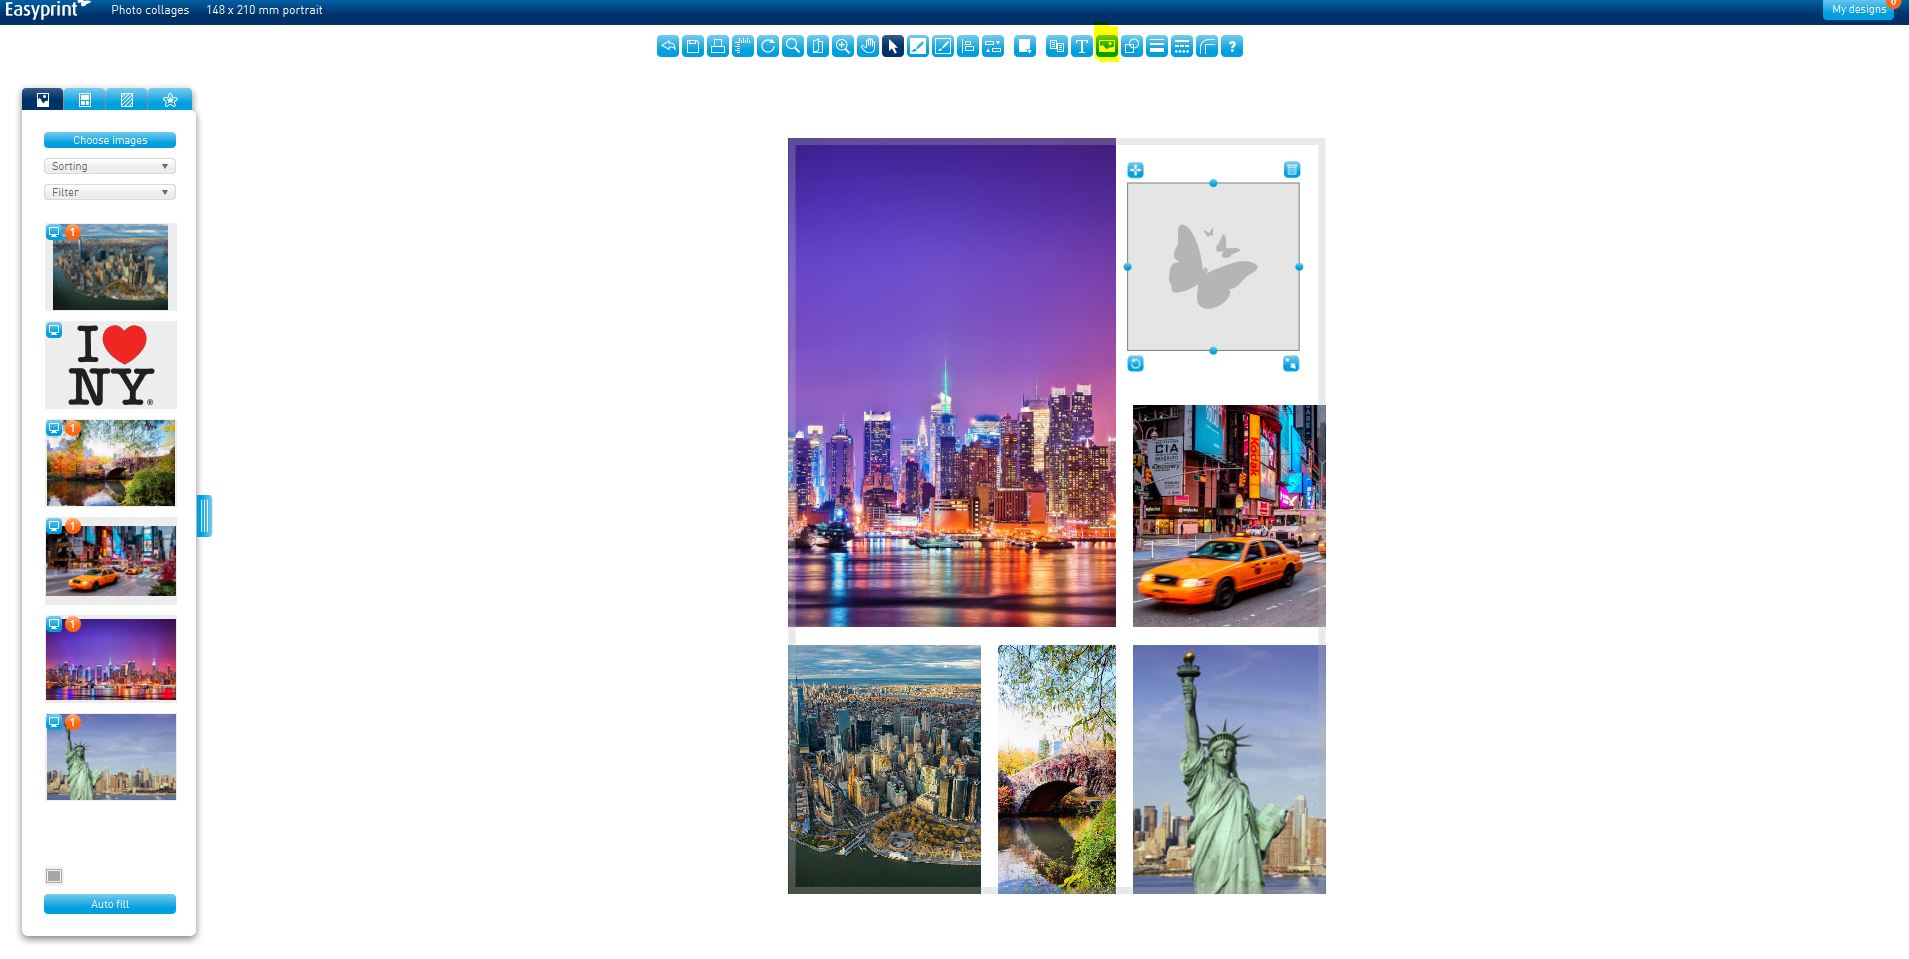
You can also have the possibility to insert boxes of images as you like, choosing shape and dimension, by using the button “Insert image” from the central menu on the top of the FreeDesign tool.
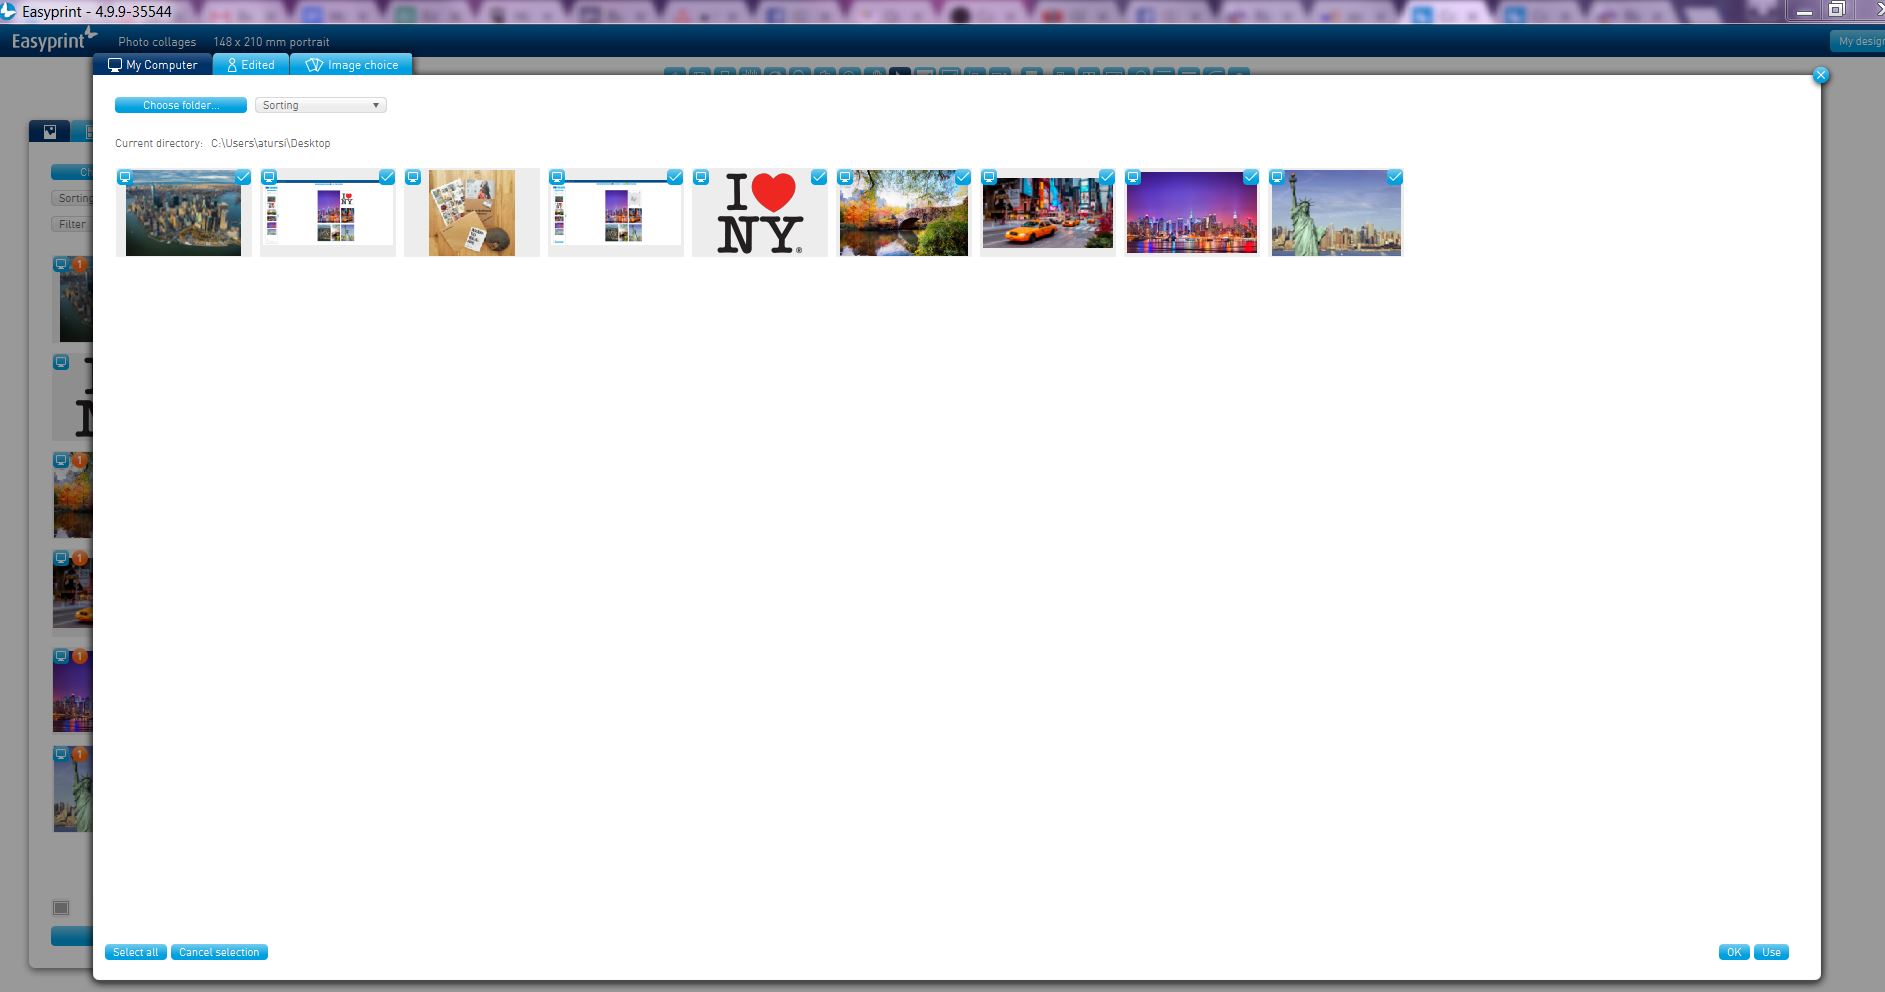
3. Uploading and modifying pictures
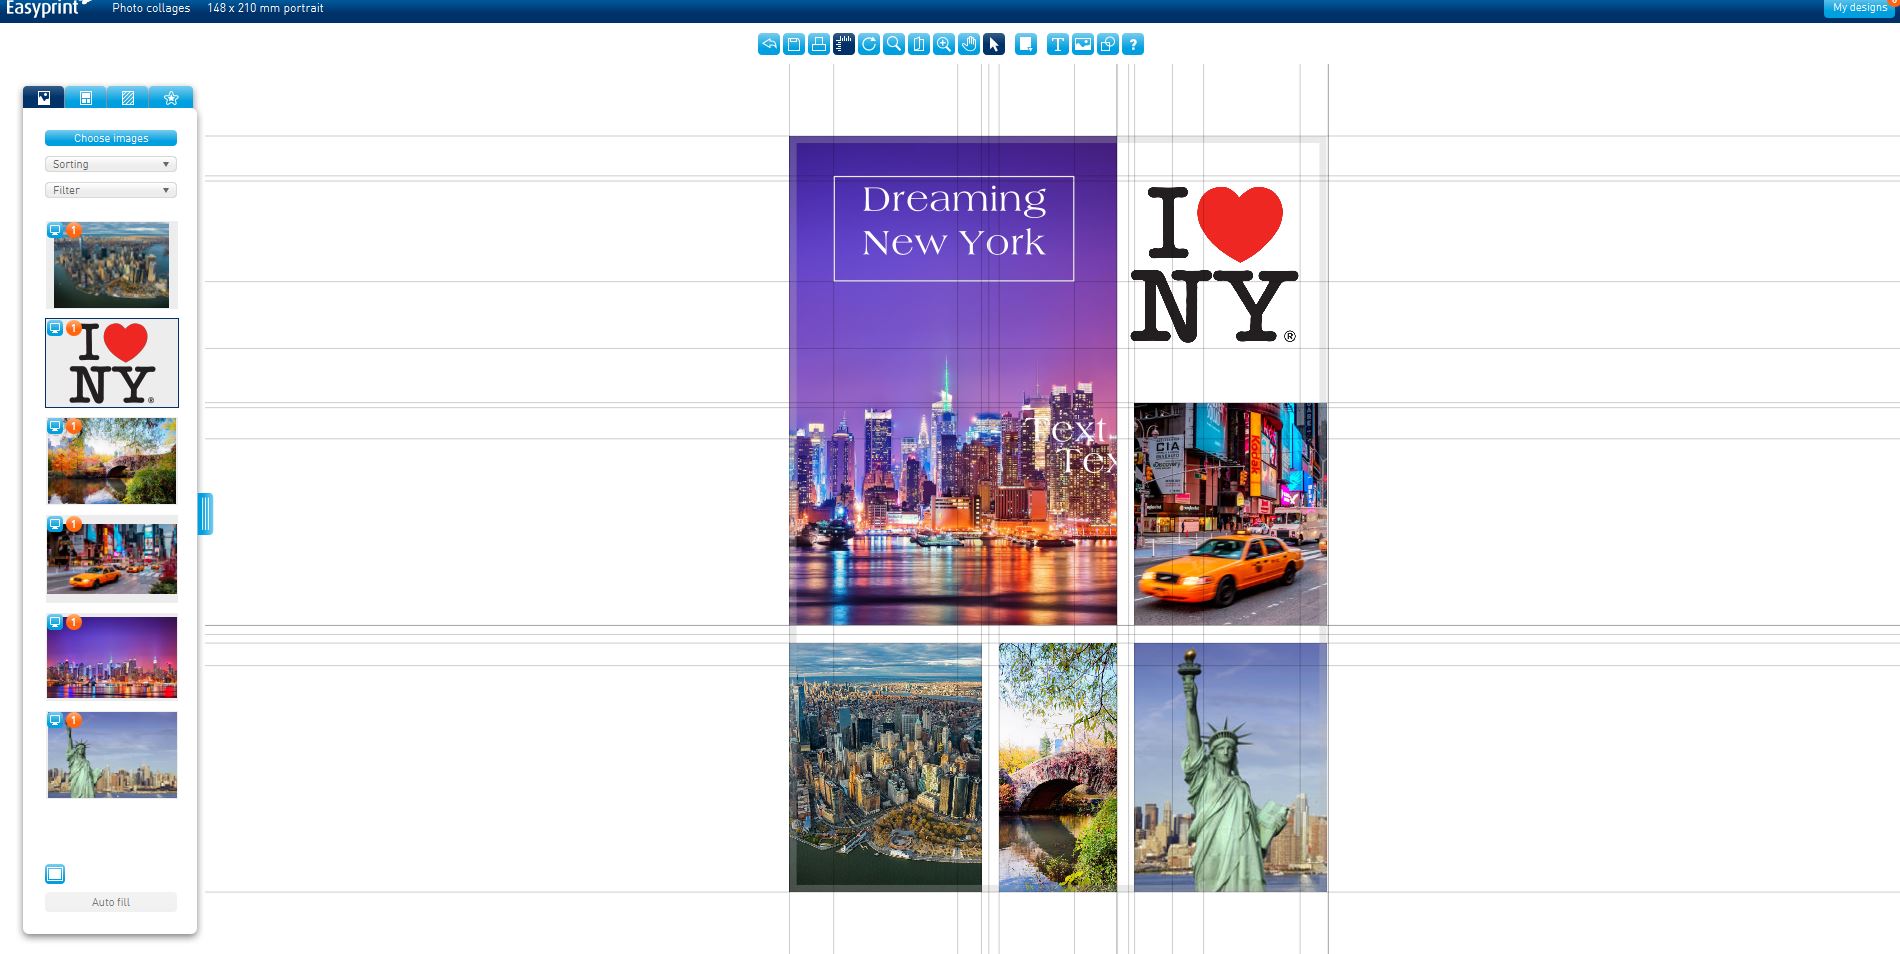
Now you can upload the images you want to insert into your Photo collage by clicking on the “select images” button in the menu on the left side and then “select folders” (top left). Then click on the desired pictures or the option “select all” (below on the right) if you want to add all the images at once into a specific folder.
The images should appear on the left side of the FreeDesign tool. Select (or create) the box where you’d like to put the desired image, double click on the picture and it will be automatically inserted into the chosen space. By clicking on the square, a little menu will appear with which you can edit variables like format, position of the picture in the page etc…
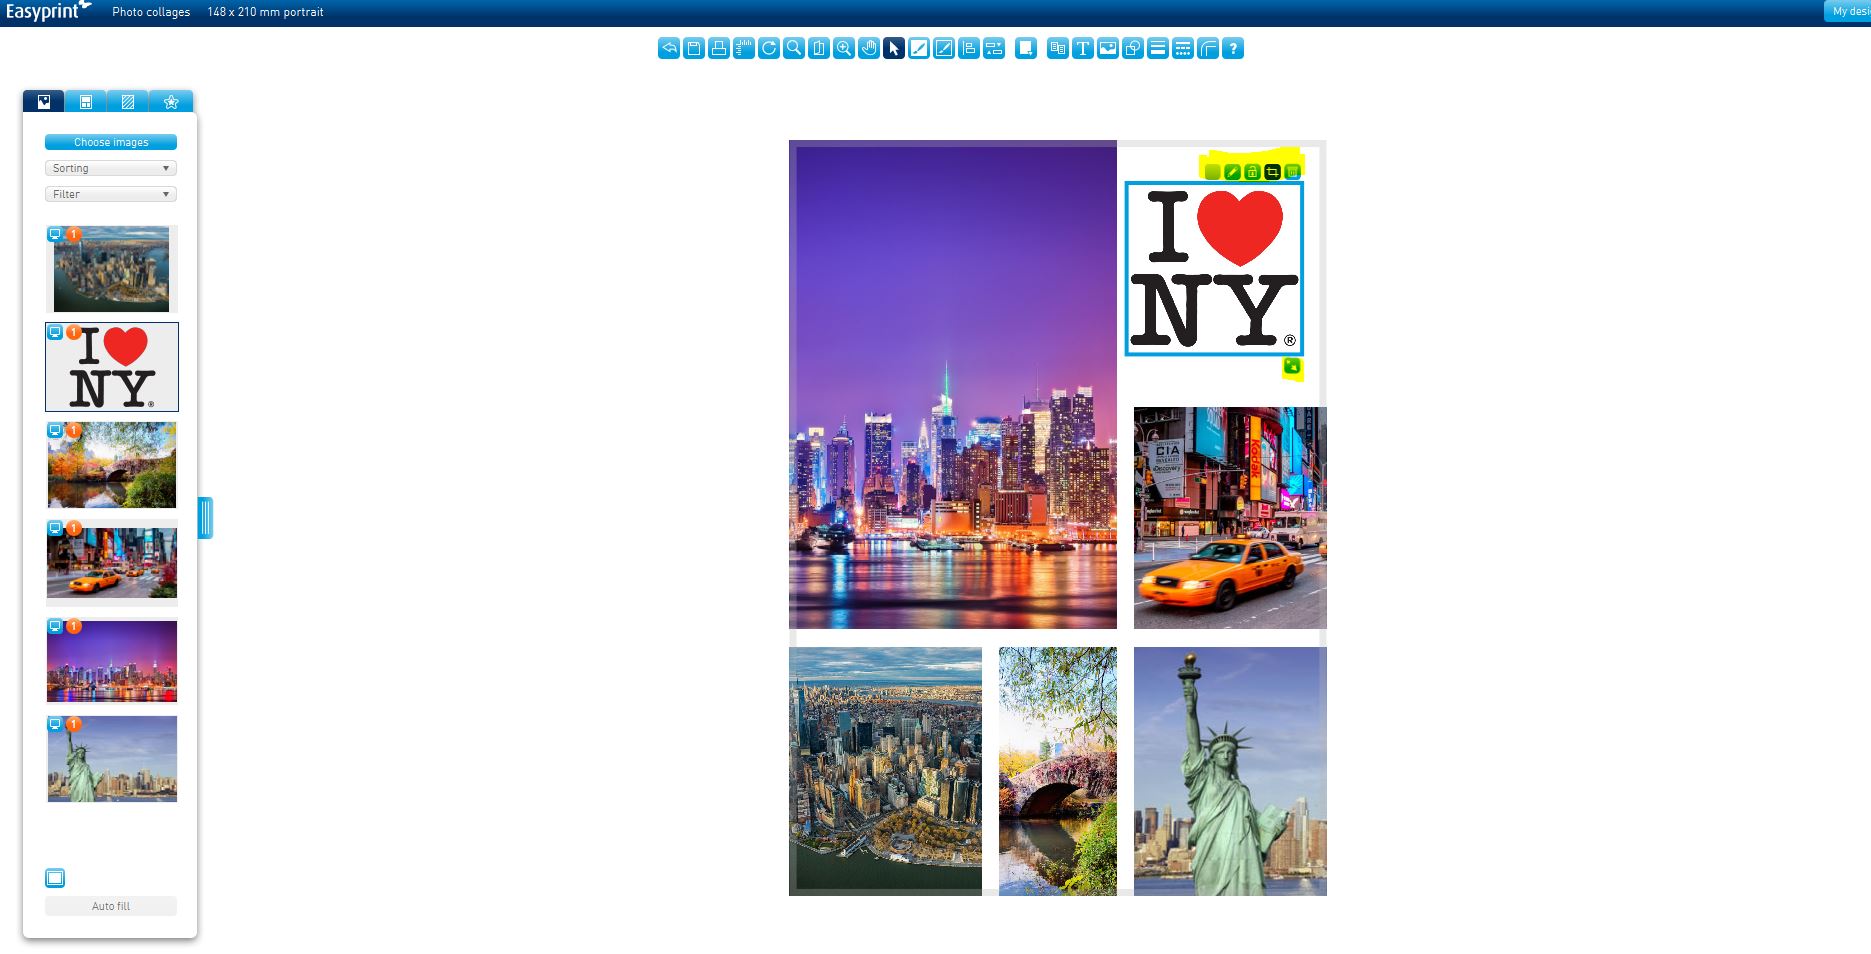
The coloured little square, instead, indicate if the picture has the best resolution for your print. If green, there are no problems, yellow you’re at the limit, red, the picture is definitely too small! As an alternative, once you’ve chosen the layout, with the “Automatic filling” button the photo collage will be ready in a few seconds.
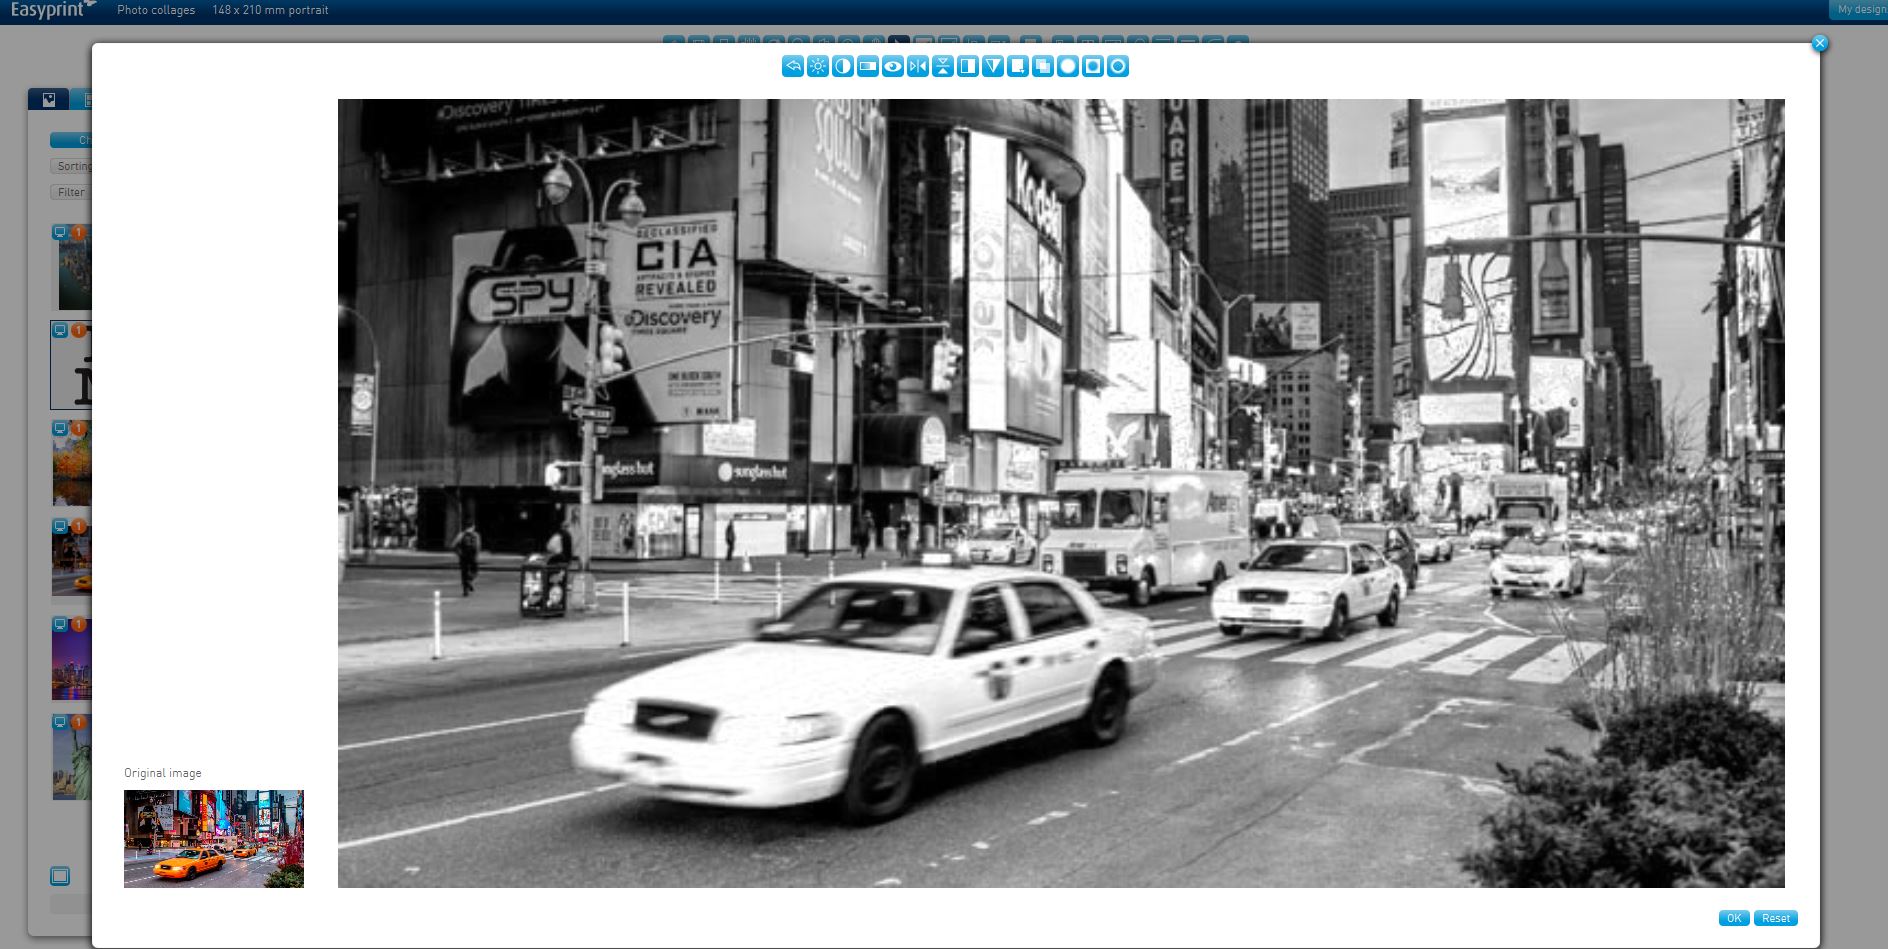
You’ve chosen a coloured picture but you want it in black and white? Another double click and a menu will appear to set up the variables, like brightness, contrast, black and white, sepia, increase and decrease saturation etc.. Press ok and the changes will be automatically saved.
4. Adding texts
To add texts to the Photo collage you have two possibilities: put it by clicking on the button on the central menu (represented by a “T”) or by using the boxes already in the layout.
Once the text box is generated, double click on it so it can open a window where you will be able to write what you like, change the font, dimension, colour etc. and when you’re satisfy click ok.

5. Discovering other interesting tools
Grid: Very useful to help you put both pictures and texts in a precise way (button with a sort of set square on the central menu) available from 0,5 to 2 cm.
Hand and lens: There are two types: the one that will increase the selected part by just overlaying the mouse (magnifier icon), useful, for instance, to see if the texts are well placed within the pictures. The other one (zoom in), to simply zoom in or out; very useful to check, for instance, if the images are all well placed. It will be very helpful combined with the “hand tool“ to help you dra g the image and place it anywhere you’d like.
6. Printing
Once you’ve finished creating your Photo collage, why don’t you check for the last time if everything is ok by printing a draft on a sheet (with the “print” tool)? Now your Photo collage is finally ready!